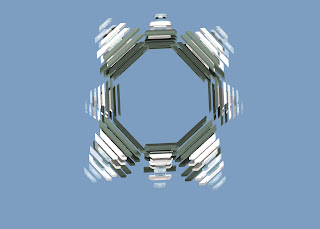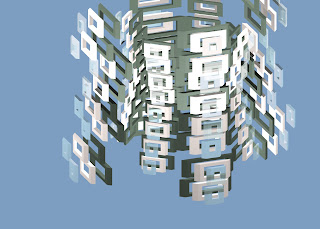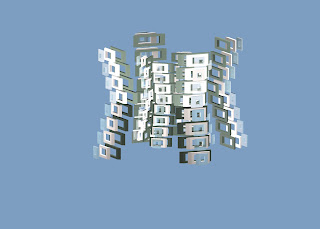
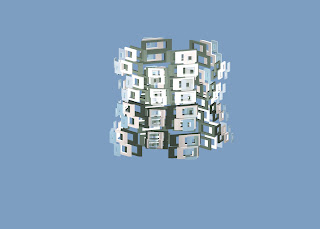
For my esperient creater I paln to have the blocks move up and down like i had planned and also get the larger ones to move in and the smaller ones to move out. Once I had done this I felt like it was too plain and boring even if I use different camera angles so i am going to make the larger ones spin round while the smal ones stay still and then possibly do the same for the inside ones or have them then spin round.
(136 kb)
(124 kb)
(161 kb)
(262 kb)
Wednesday, September 29, 2010
Monday, September 20, 2010
100 word synopsis.
For my model I used my previous one as a basis of what I would like it to look like.I liked how the blocks look but not so much the balls. my inspiration for the new design was of buildings that are made from different elemnts and materials. i rendered them in the different types of materials that you get on a building and how they could relate to each other. I then repeated the blocks and made them smaller so that they could fit in the gaps of my design to make the block more complete. I am going to animate these by making them move in and out with each other and also have the blocks swap up and down like i was going to on my last model if it is able to happen.
New model
For my new model it was based on a city scape and buildings in town that are made of different materials. I worked with the idea of concrete, metal and glass to render my new shape. This colour scheme works well with my inspiration and when it moves the glass will create more texture as you will be able to see the metal behind it.
Refinement of model.
After looking at my model I decided to take away the balls from the middle of the structure and move out the larger blocks and put a copy of small blocks in with it. These blocks will then move out and the larger ones will move back in.
Wednesday, September 15, 2010
Design ideas and intentions.
For my model I wanted to create a symmetrical structure that could move and each group of 3 blocks move up and down to change the shape of the object. The basic form of my object was intended to be fun and childlike but with the rigid element to it. I added in the balls to make this object appear fun and friendly. The colour of the model enhances the childlike aspect of the design. After reflection I have taken away the purple coloured balls and replaced them with a brighter colour so that it contrasts more with the frame.
Monday, September 13, 2010
final render
Friday, September 10, 2010
Second Render
For my second render I made the balls in the middle smaller so they weren't overpowering the main structure of the work. I kept the colurs of the balls as they looked really good and bright for what I was trying to say. I made the purple a lot lighter and put a reflection of the work so that you can see the colour of the balls on the frame wok. I like the purple colour now but some of my blocks could not be coloured which was rather weird but it looks pretty nice against the purple.
(72 kb)
(53 kb)
(70 kb)
Wednesday, September 8, 2010
first render
For my first render I wanted to use the colours that I had got from my inspiration. I like the bright colours in the posters and put them onto the balls. This turned out well and I like the brightness of the balls and how they stand out against the blocks on the outside. For the blocks I wanted to make them not as bright as the balls but still quite striking, after choosing to colur them all purple I have decided that I do not like this colour as it makes the object more dark and not like my key words.
(37 kb)
(47 kb)
(37 kb)
(47 kb)
Tuesday, September 7, 2010
Sunday, September 5, 2010
Model 1
Subscribe to:
Posts (Atom)